
Installation
Step 1: Run the setup
Run setup.exe.
Do not run vsp.msi package

The setup.exe package will automatically check for the required prerequisites for the SCD Visio ToolBox solution. If the necessary VSTO package or the required version of the .NET Framework are not installed, the setup package will download and install these components. In case of any problems with automated download of prerequisites (for example due to firewall settings), they can be downloaded from www.microsoft.com webpage (Latest version of .NET Framework and Visual Studio Tools for Microsoft Office) and installed manually.
Step 2: Install SCD Visio Toolbox
After installing the prerequisites, the setup screen for SCD Visio ToolBox will appear.
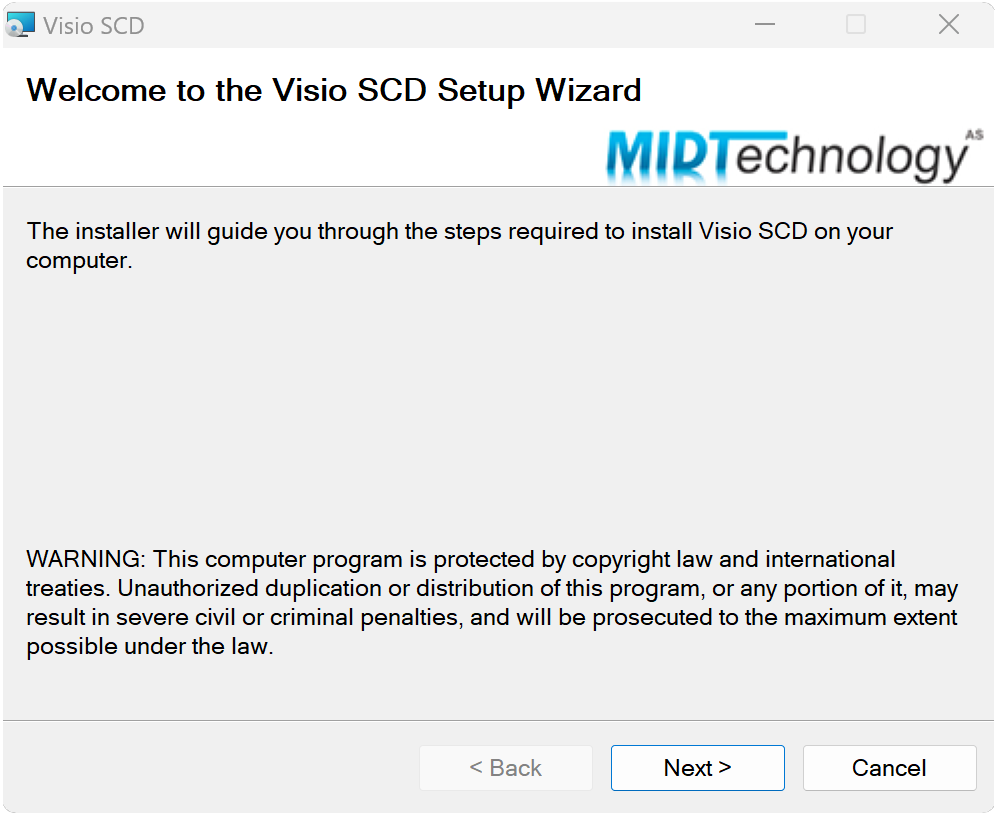
Setup wizard will guide you through the installation of SCD Visio ToolBox solution. During installation setup can request permissions:
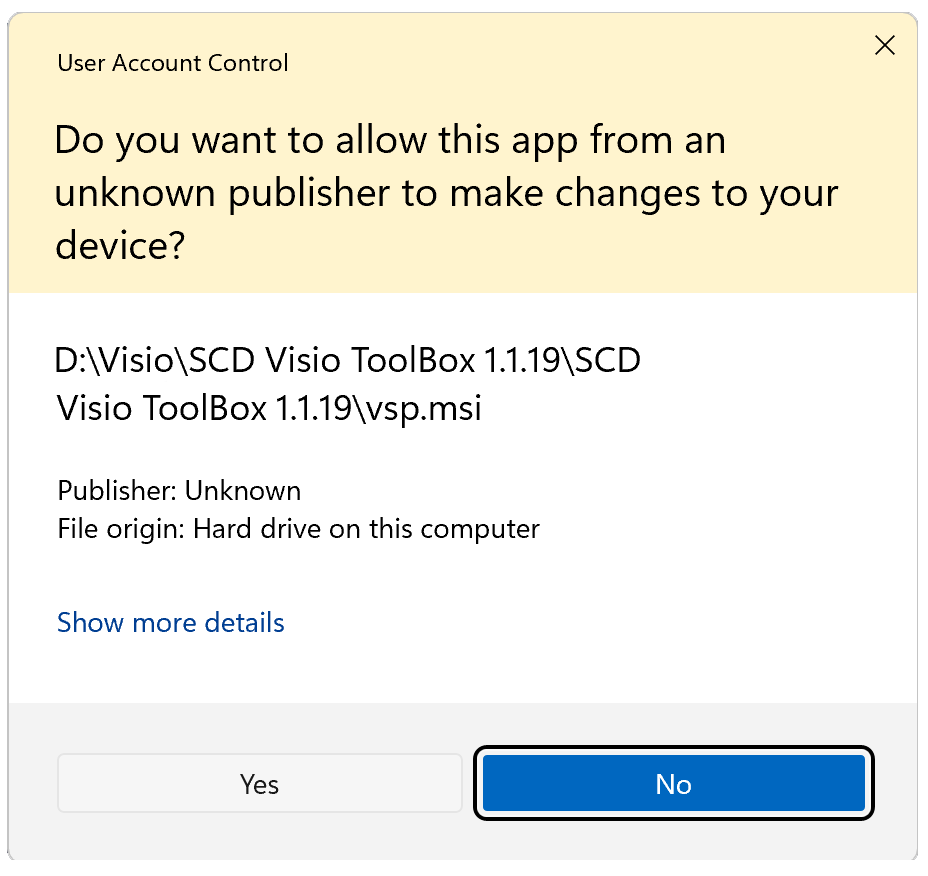
Press Yes button.
Step 3: Run the application
After the installation 3 shortcuts will appear on a desktop:
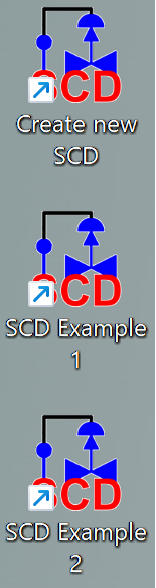
Run any of them to complete installation and install license key. MS Visio will be opened and License Information window should appear:
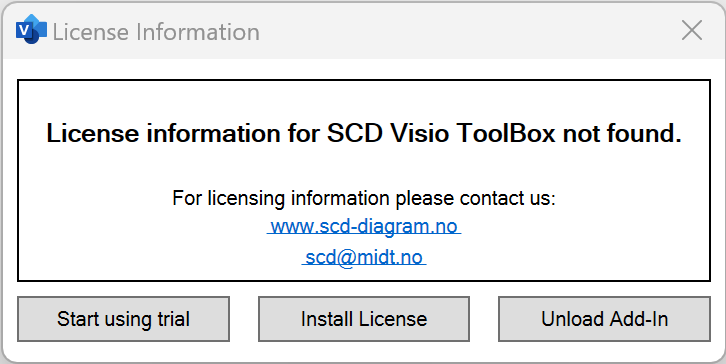
Step 4: Install license
If “License information” window has not appeared, refer to Installation Troubleshooting page.
To install license key, press Install license button.
License manager window will appear:
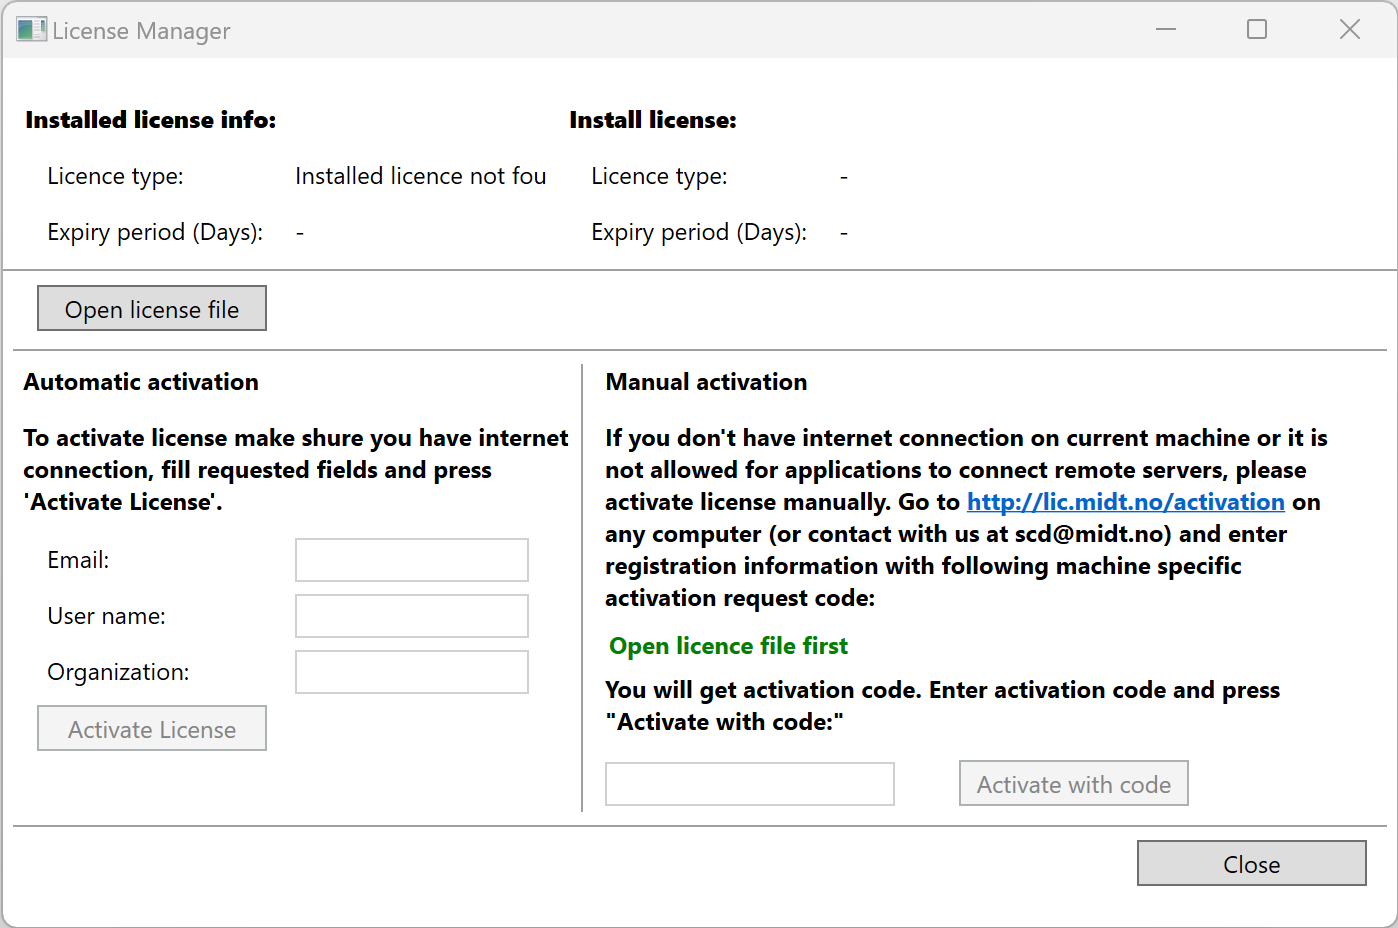
Press Open license file and choose provided license key file (.lic). Then press Install license and close License Manager.